透過素材を作るには
透過素材を作るためには拡張機能「Layer Diffusion」を利用します。
この機能を利用することで透過素材(アルファチャネルを持つPNGファイル)を簡単に作成することができます。
Layer Diffusionのインストール
今回はStable Diffusion Web UI Forgeで使える拡張機能「sd-forge-layerdiffuse」の形でインストールします。
Stable Diffusion Web UI Forgeのインストール方法は以下のページを参照してください。

まずはStable Diffusion Web UI Forgeを起動し「Extensions」タブを選択します。
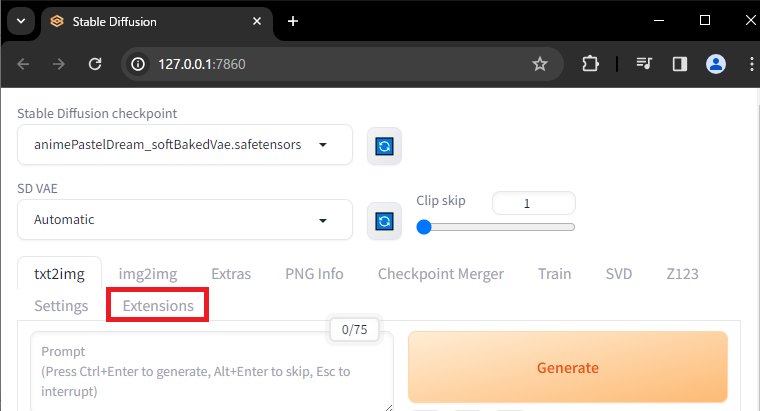
次に「Install from URL」に進みます。
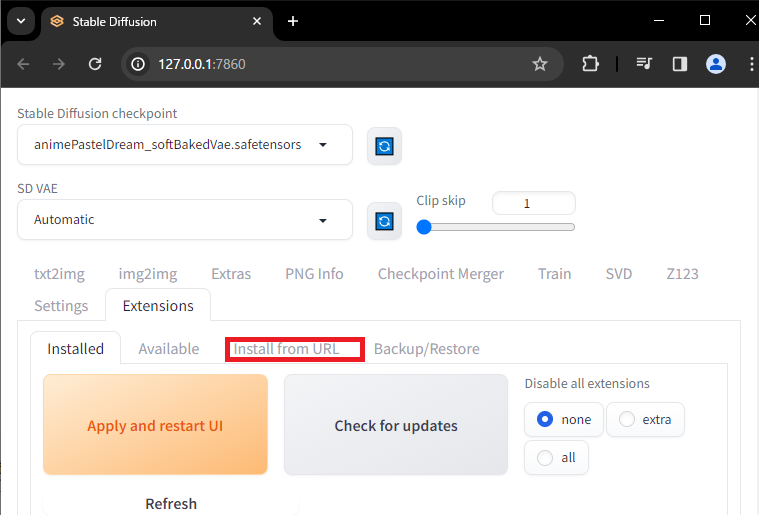
以下のURLを入力し「Install」を選択します。
<a href="https://github.com/layerdiffusion/sd-forge-layerdiffuse">https://github.com/layerdiffusion/sd-forge-layerdiffuse</a>Code language: HTML, XML (xml)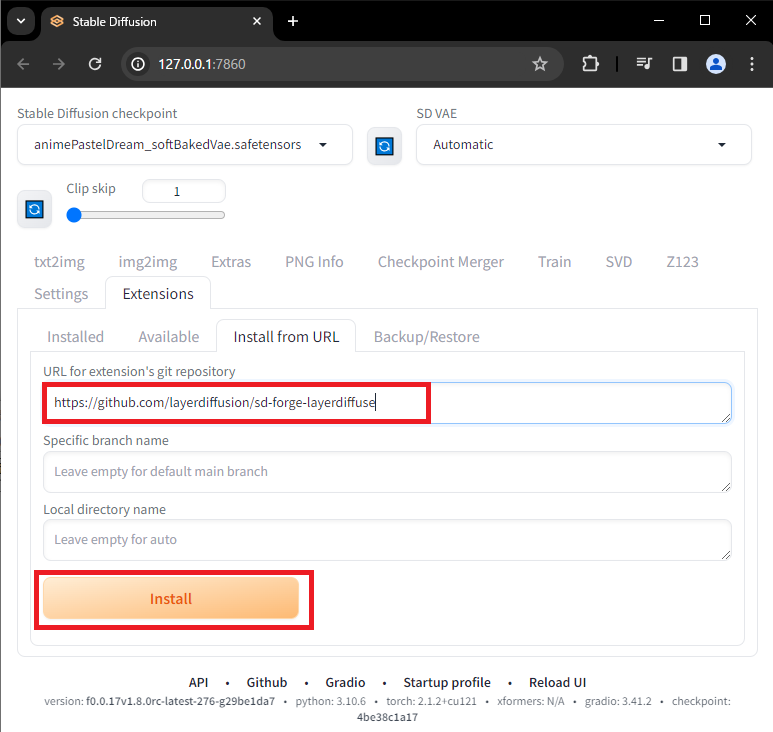
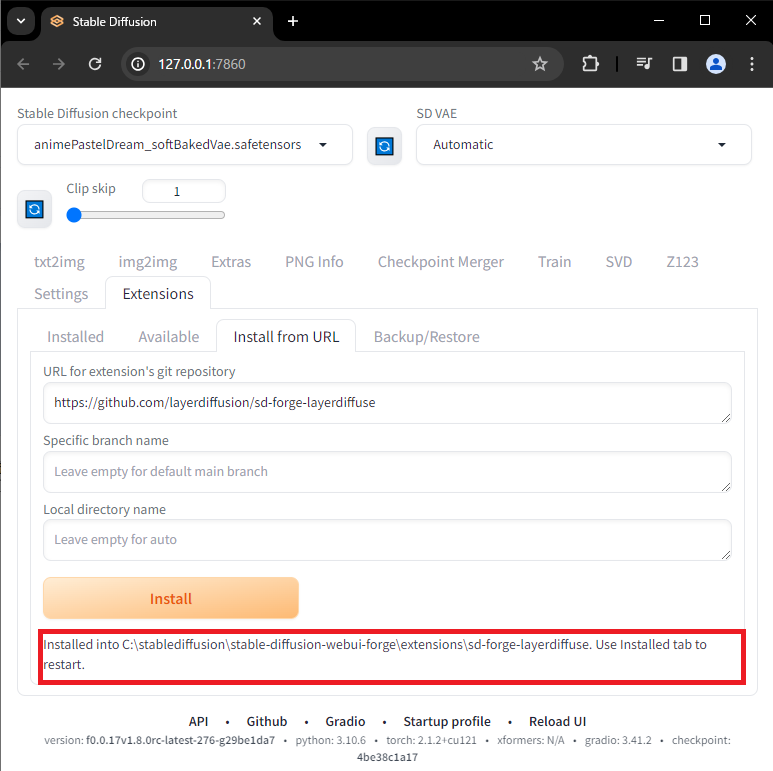
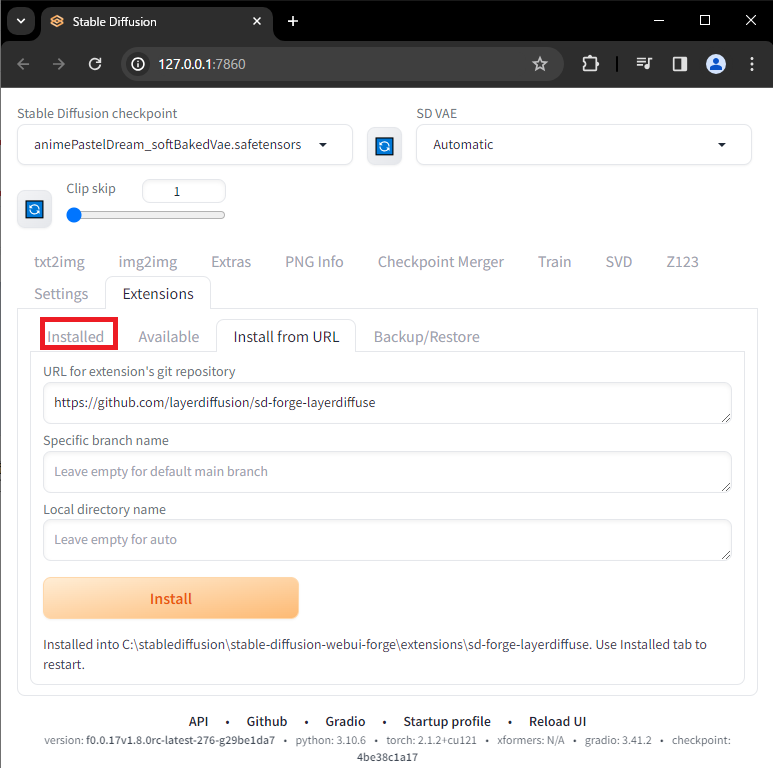
インストールが完了したら以下の表示がされるので「Installed」タブに進みます。
「Apply and restart UI」を選択します。Web UIの再起動がかかるので完了まで待ちましょう。
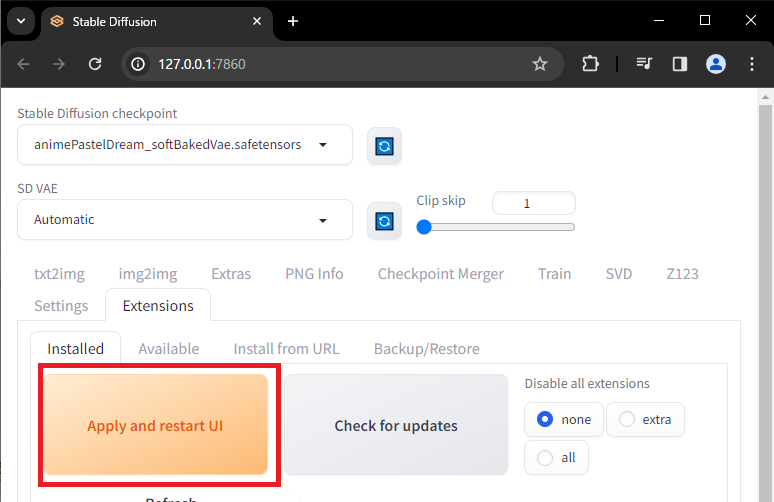
再起動したらインストールは完了です。
対応したモデルのインストール
背景透過画像を出力するには、背景透過画像を学習させたモデルを使用する必要があります。
推奨されているモデルは以下の二つです。
- Juggernaut XL / リアル系モデル

- anima_pencil-XL / アニメ系モデル

モデルのインストールについては以下の記事を参照してください。
透過素材を生成する
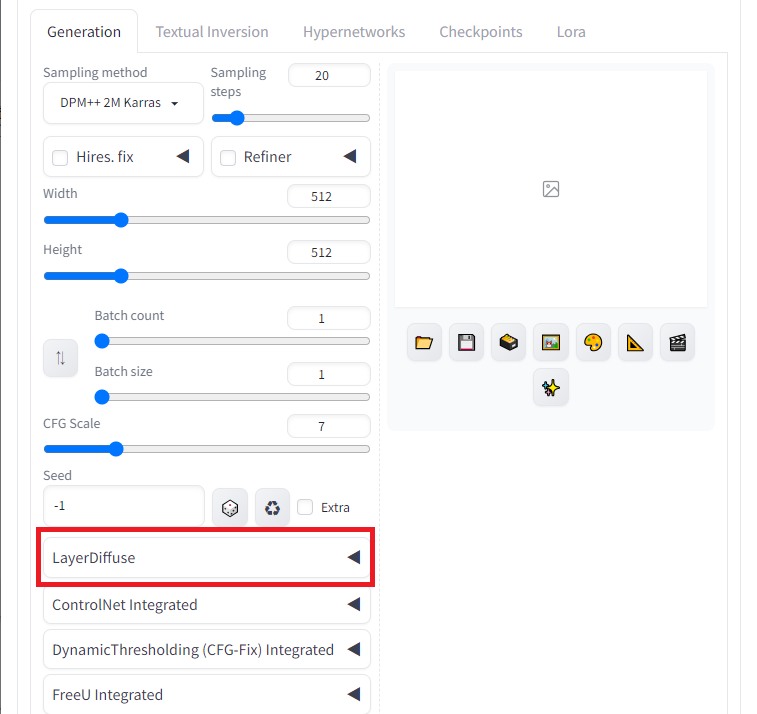
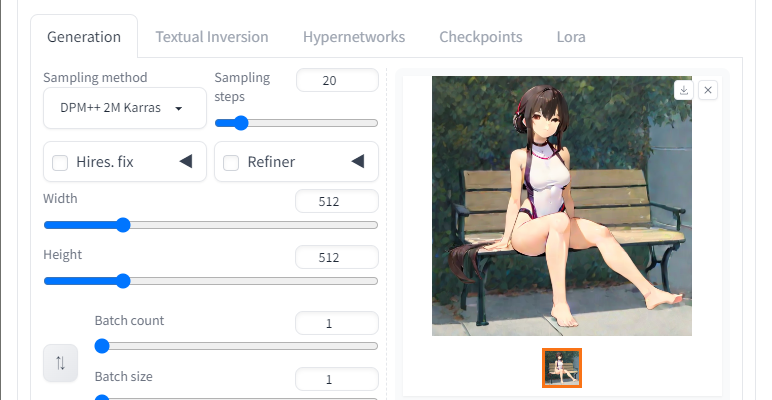
「Generation」タブの「LayerDiffuse」を選択します。
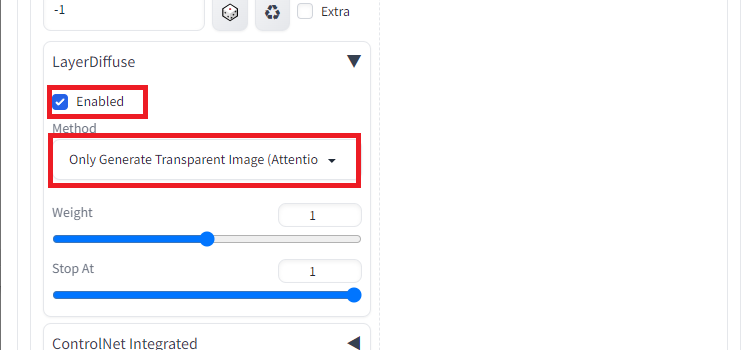
「Enabled」にチェックを入れ、「Method」を「Only Generate Transparent Image(Attention Injection)」を選択します。
インストールした推奨モデルを選択し、プロンプトを記入、画像を生成します。

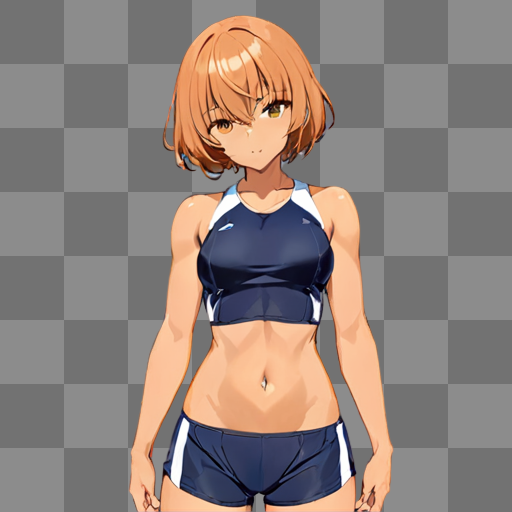
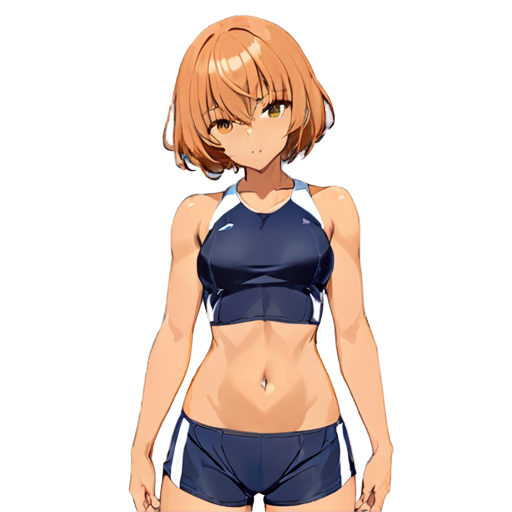
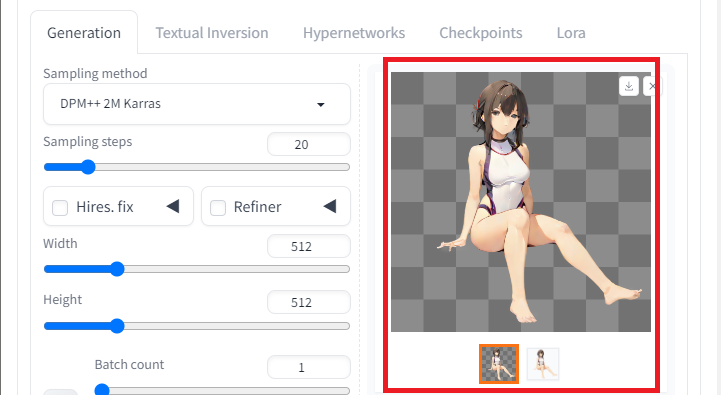
Layer Diffusionで透過画像を生成すると二種類の画像が生成されます。
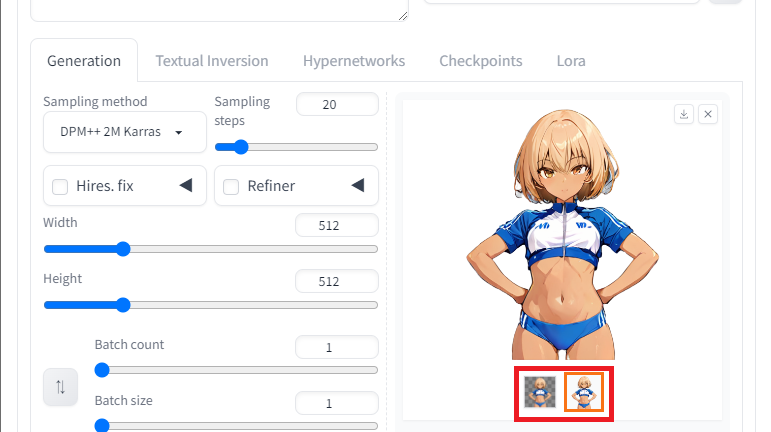
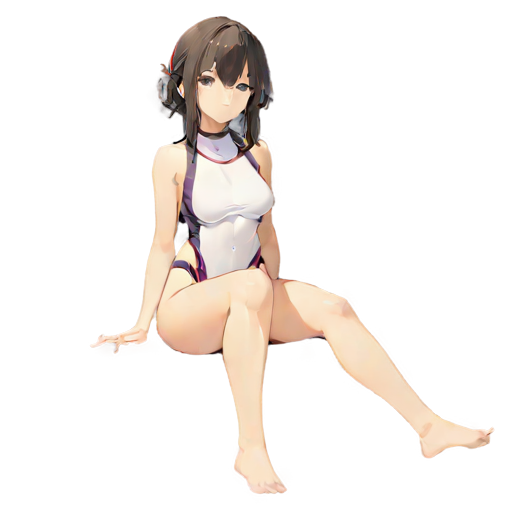
左のチェック柄背景は透過のイメージ(チェック柄部分が透過)で、実際の背景透過画像は右の白背景のものとなります。
適当な背景と重ね合わせてみます。

きちんと透過画像として出力されていることがわかります。
背景に合わせた透過素材を生成する
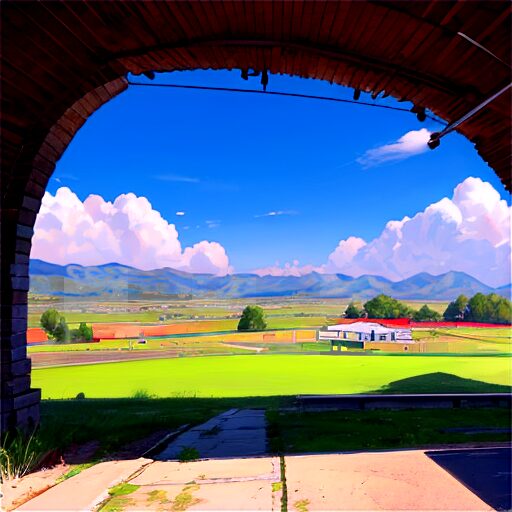
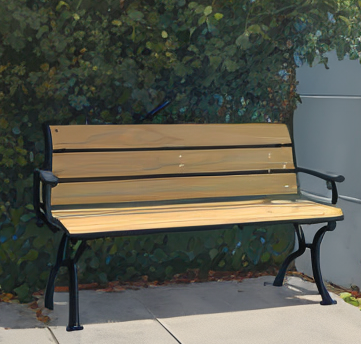
以下の画像のベンチに座った女の子の透過素材を生成してみます。
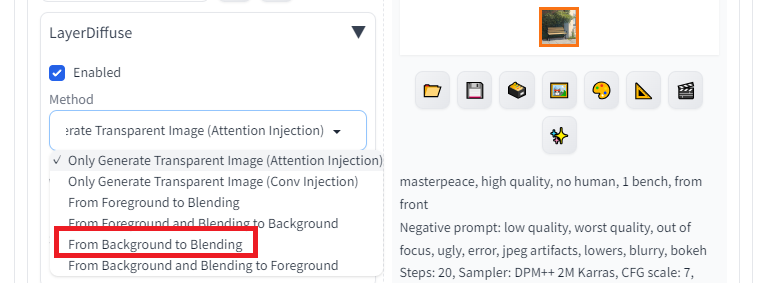
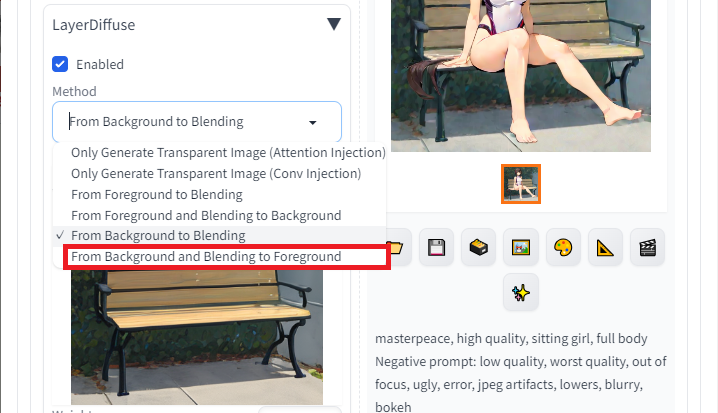
「Layer Diffuse」の項目の「Method」を「From Background to Blending」に変更します。
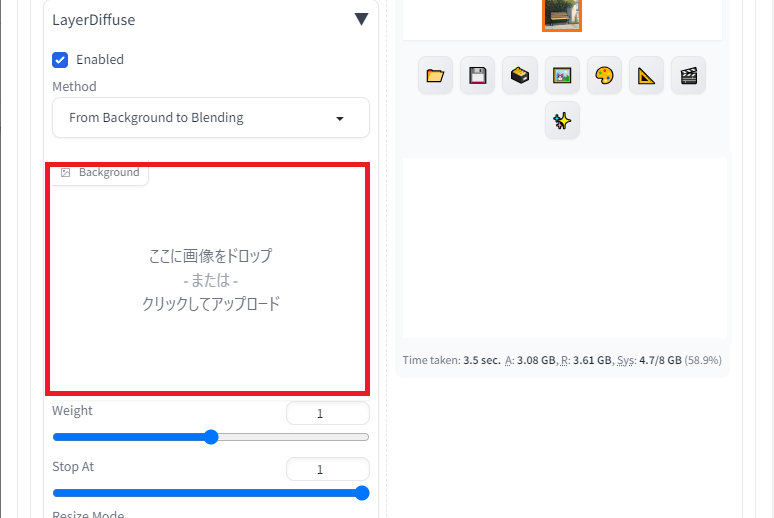
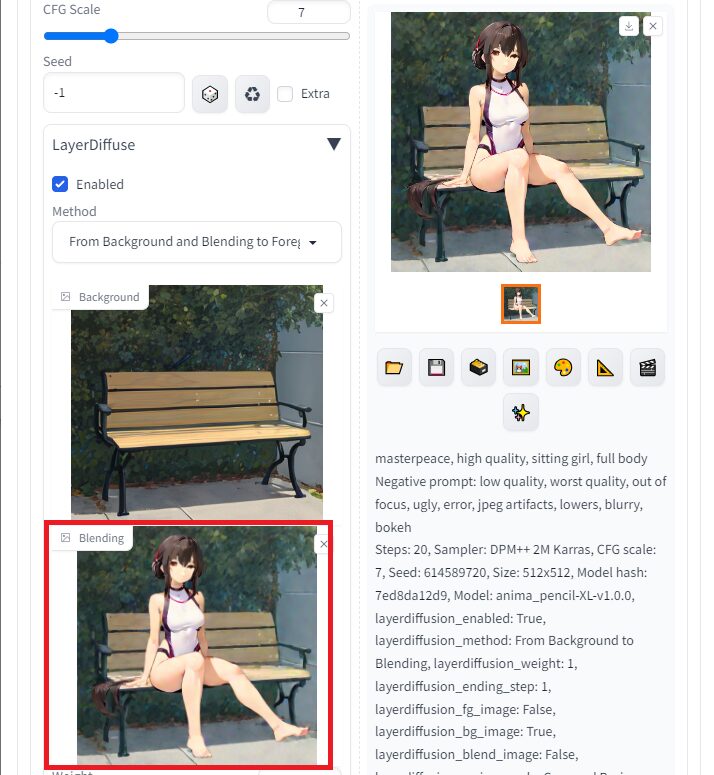
画像を登録するエリアが表示されるので背景画像を登録します。
ベンチに座る女の子を生成するようなプロンプトを入力し画像を生成します。
結構難易度高いので根気強くいきましょう。
そして生成された画像がこちらです。
ここから背景画像を削り、透過画像を生成します。
「LayerDiffuse」の「Method」を「From Background and Blending to Foreground」に変更します。
生成した画像を追加で表示された画像登録エリアに登録します。
次に「Generate」を選択します。
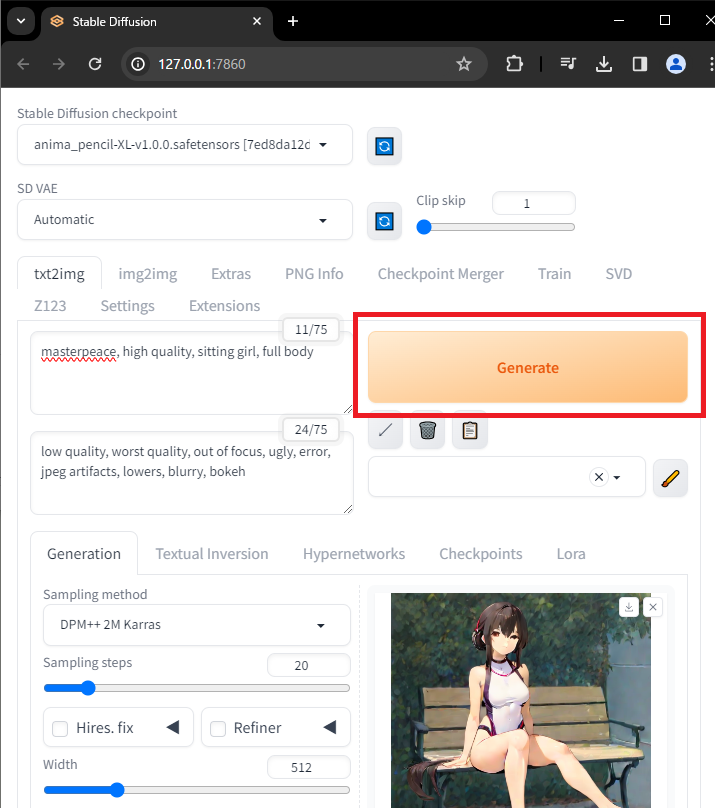
背景を削った透過画像が生成されました。
こうすることで背景にあったポーズの透過画像を生成できます。
まとめ
今回はStable Diffusionを使って透過画像を生成できる「Layer Diffusion」についての説明と、インストールする方法、背景画像に合わせた画像を生成する方法を説明させていただきました。
以下内容のおさらいです。
どんな画像を出力するか指定するプロンプト(呪文)を以下のページにまとめています。
うまく使ってください。